This feature is available for both Sync for DJI and Sync for Osmo apps
Stabilized Hyperlapse with Sync for DJI and Sync for Osmo apps
[using Timed Shots]
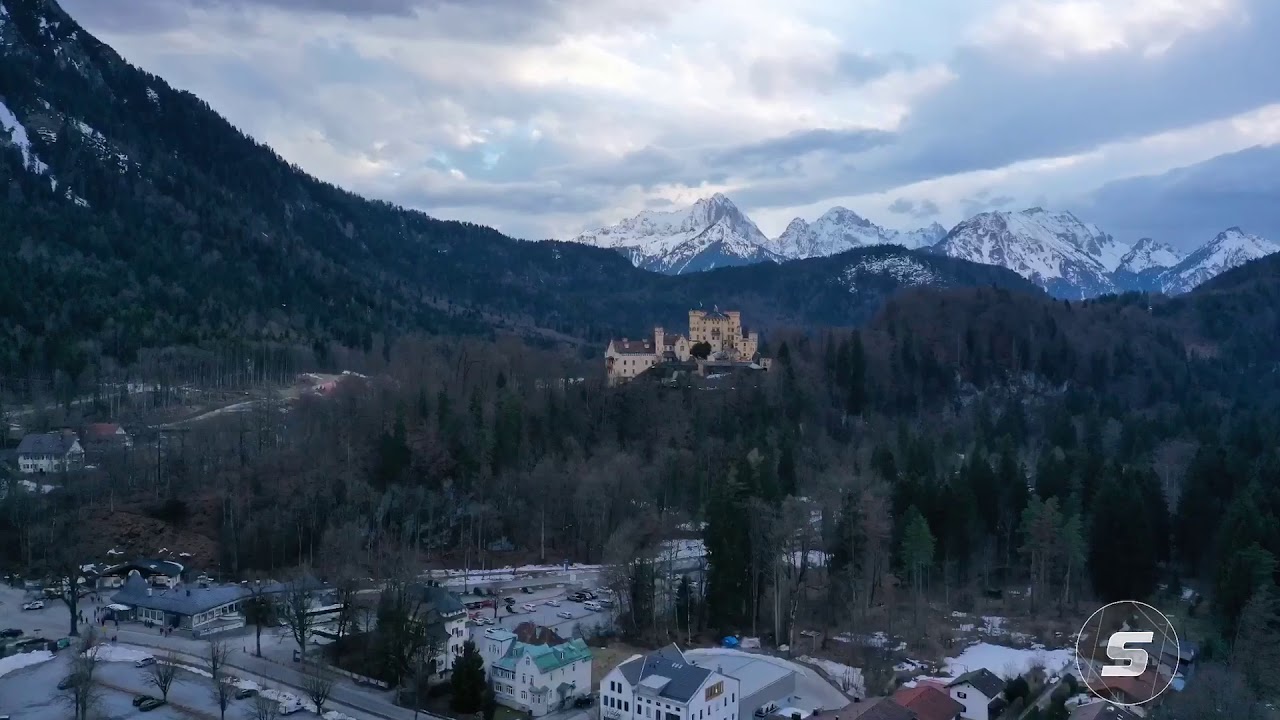
Hyperlapse is a timelapse where the camera is moving. It’s a significant feature exclusively designed for the new DJI Mavic 2 Pro and Mavic 2 zoom drones by DJI. It allows you to make cinematic videos like this:
Impressed? Well, good news! Now you can do this with ANY drone, and in this tutorial we’re going to show you how to do this with your drone by using the Sync for DJI app.
STEP-BY-STEP GUIDE
For a high-quality hyperlapse, you need to shoot a lot of timed shots, all while moving the drone evenly across the desired landmark or scene.
If you want to read more about the proper preparation for shooting, expand the Camera Setup and Preconditions.
First, choose a location where you want to shoot. Ensure that the environment and weather conditions are suitable for flight, go through your preflight checklist, then get ready for take off! Fly around a bit to frame your shot just how you want it.
The best way to make a hyperlapse is by using the Timed Shot feature in DJI GO 4. To choose this mode, go to:
-
Camera Settings Button
-
Tap “Photo”
-
Tap “Timed Shot”
Then choose the time interval. To choose the lowest time interval possible, set your format to JPEG. Make sure that Sync for DJI does not currently allow RAW timed shots to generate hyperlapse videos.

To make a proper hyperlapse, you have to turn “OFF” auto exposure and white balance before you can even get started (otherwise some of your photos may end up with an inconsistent color due to the white balance shifting automatically). To get higher photo quality, the ISO shouldn’t be larger than 200.
Start Shooting
Tap the Shutter Button on your RC or in the app, and the aircraft will start capturing photos in two-second intervals. Keep a close eye on your aircraft during shooting, and move it slowly or keep still (using Tripod Flight mode).
As a result, each image is used as one frame in a hyperlapse video. The minimum number of frames for a smooth video starts from 24 frames per second (but we suggest going with 30 fps). If you want to make a five-second video, you will need to capture more than 120 photos. With a Timed Shot interval of five seconds, this should take around ten minutes.
Making Hyperlapse with Sync for DJI or Sync for Osmo app
We’re now going to make a hyperlapse using only your phone and our exciting feature.
Turn the drone and remote controller on and start the Sync for DJI app (or connect Osmo Pocket/Action via bluetooth). Then wait until the media of your DJI device appears on the second tab. Find the timed shots (they should be stacked in one cell on a grid with a special icon along with the number of frames).
Tap on this item and, on the previewer, tap on the Hyperlapse tool [ H at the bottom bar]. You should now be able to see the hyperlapse editor.

The header shows the number of frames as well as the estimated duration of the resulting video file.
Below the preview frame, you can see the generation options. You can adjust the following settings:
-
Output resolution (SD, HD, Full HD, 2.7K, 4K);
-
Stabilization -
-
Smooth stabilization - Choose whether your camera was moving or rotating while shooting the footage
-
No motion - Choose whether to stabilize shaking or small rotation if your intention was to shoot in the same direction
-
None - No stabilization
-
-
Framing -
-
Auto Scale - Crop the moving edges and scales up the image to refill the frame
-
Crop - Crop the image without scaling. Output resolution is affected in this case
-
None - Fill in the moving edges with the black color
-
-
Speed -
-
Slow - 15 frames per second for the resulting video
-
Normal - 24 frames per second
-
Solid - 30 frames per second
-
Fast - 60 frames per second
-
Below you can see the frame viewer. Drag either end to trim the frames from the video. Hit the “Play” button to see a preview.*
* Pay attention to ensure that the hyperlapse preview doesn't do realtime stabilization or crop, making it so you can't see it in action before the actual generation.
The extra menu (top right corner) includes the following operations:
-
Load HD Preview - App downloads higher quality previews from the DJI device. When completed, it changes to ✔ HD PREVIEW READY
-
Drop Trimmed Frames - App preserves only the effective range of frames. The original sequence on drone memory is not affected
-
Share Current Frame - Lets you download in HD and share frames where the play caret is stopped
When ready, tap “Create” and the application starts to download full-size frames (if not done yet) and generate a hyperlapse video with your predefined settings. You can sit back and relax while a app makes a hyperlapse for you. After it is finished, you will be notified with the push notification.
The generated video is a new item in the Storage grid. You can find all of your generated videos with the filter "User Media".
Check out a few videos made with just the iPhone X:
Hyperlapse example by Sync for DJI team


